Middo
Responsive Multipurpose WordPress Theme
- created: 12/11/2018
- by: https://themeforest.net/user/payothemes
- middo.payo-themes.com
- Online Documentation
- Page Builder Documentation
Cheers
Installation
INFO:
- How to install
Video on YouTube:https://www.youtube.com/watch?v=5k694RNahdk&feature=youtu.be&hd=1
Install manual
Download the WordPress installation package
To start the installation process, first you need to download WordPress
from it's official download page. We recommend that you always download
and install the latest stable version of WordPress.
Once you click on the Download button for the latest WordPress version,
the installation package will be saved to your hard disk. Locate the
installation package that you've just downloaded and extract it to a new
folder.
Upload the WordPress Files to Your Server
Now, you need to upload the extracted files and folders to your web
server. The easiest way to upload the installation files is via FTP.
Once the download is complete, extract the archive and upload it to
your web hosting account. You can do that via FTP using a client
application like Filezilla or via cPanel -> File Manager -> Upload
file(s). If you want this WordPress installation to be main for your
website, the files should reside in the public_html folder of your
account. However, you can always make a subfolder (i.e.
public_html/blog) if you want to run only part of your website on
WordPress.
Create a MySQL Database for WordPress to use
Now, you need to create a MySQL database and assign a user to it with full permissions
Once you create your MySQL Database and User, make sure you write down
the database name, database username and password you've just created.
You will need those for the installation process.
Go through the installation process
Now it's time to navigate to your website to start with the
installation process. If you have uploaded WordPress in your public_html
directory you'll need to go to http://yourdomain.com in your preferred
browser. The first thing you will notice is a message, telling you that
you don't have a wp-config.php file and you should create one. Just
click on the Create a Configuration File button to proceed.
On this page you will see a message, asking you to prepare the
necessary information for the installation. Since we already have this
information, simply press the Go! button.
Enter the details for your newly created MySQL database and press the Submit button
WordPress will now check if your settings are correct. If you have
entered all the necessary information, you will see a confirmation
screen. Press the Run the Install button to proceed.
On the next screen you will have to enter the information about your
administrative username and the title of your new site. In addition, you
can specify whether you'd want search engines to index your site or
not. Once you fill in that information, press the Install WordPress
button. Bear in mind, however, that you should specify a real email
address. It can be later used in case you forget your password.
Now, login in to your wp admin, click on Appeareance - Themes - Add new - Upload middo Theme - Activate.
Check your plugins that needs to be installed, install and activate them.
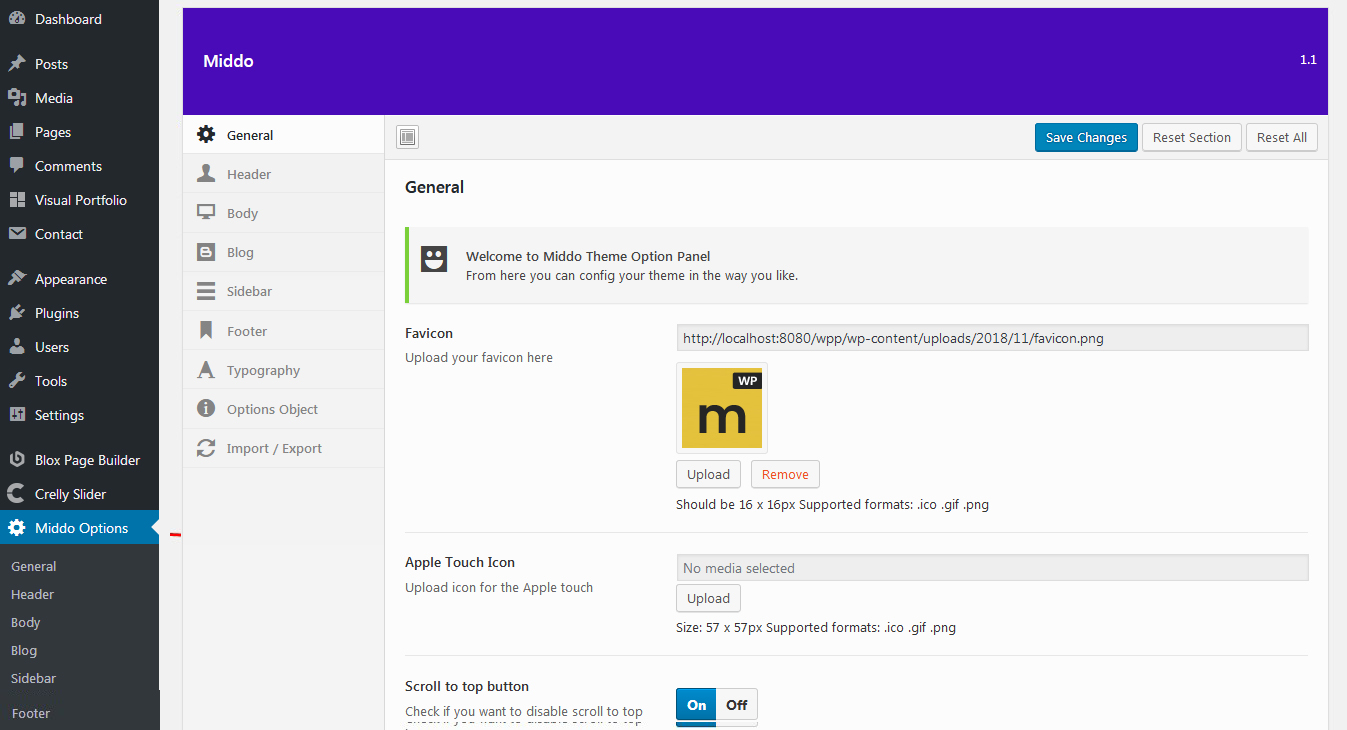
For customs, please check middo Options
Setup middo
After installation and activate our theme or child theme {child theme works only with middo installed} install and activate all plugins, click on Middo Options and hit Save to load all options from theme option.
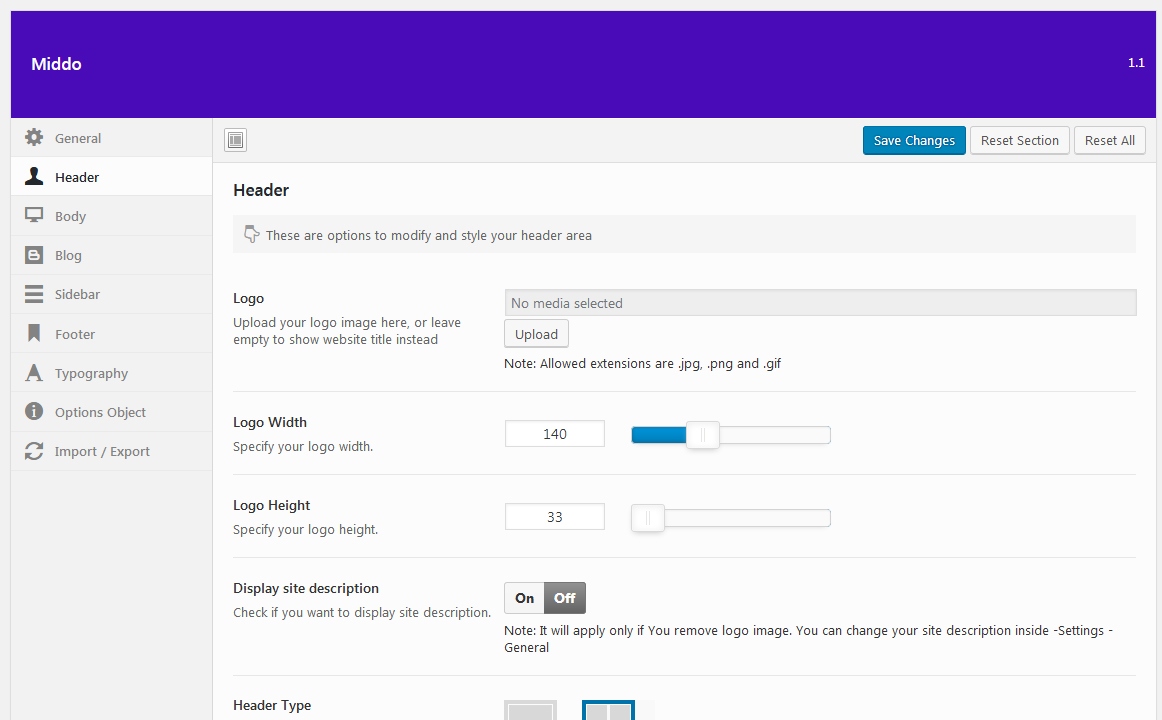
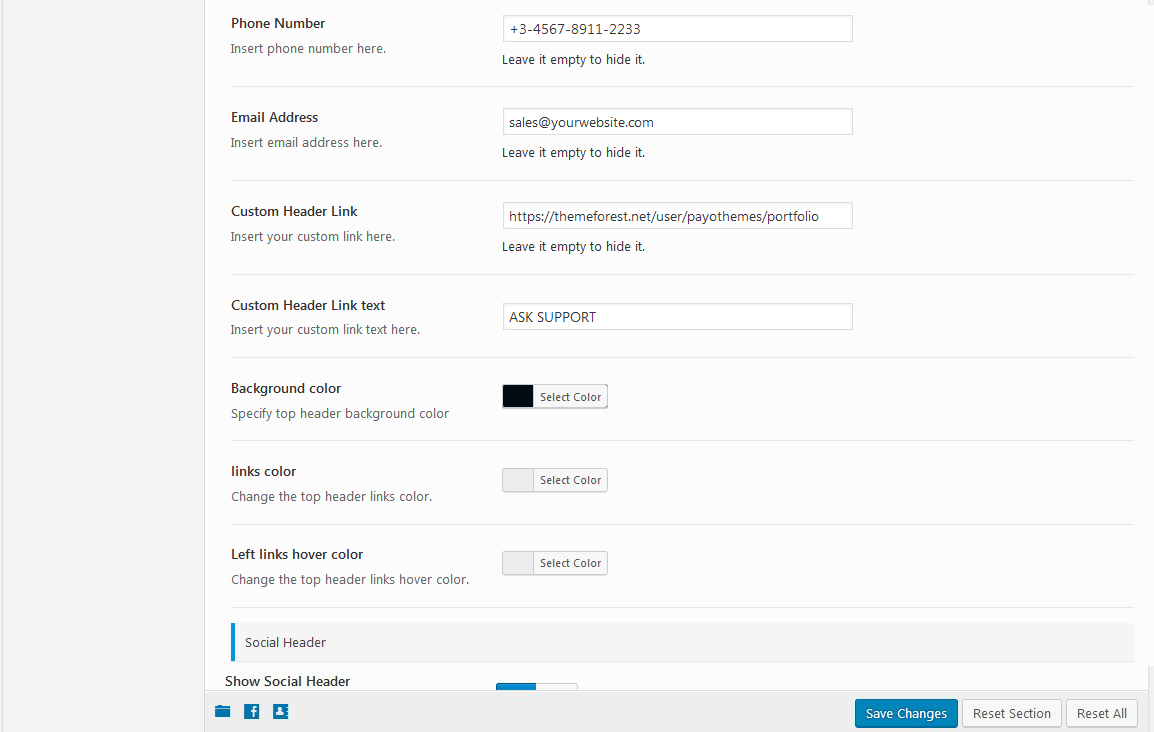
In Header section you can change top bar contact, socials, background of top bar, add logo, choose header transparent or default, sticky menu if you want to be off or on, search in menu hide or show.

Body section: you can add title area background image or color,, body color, body image,

Blog section, you can disable author and post next back options, post title color

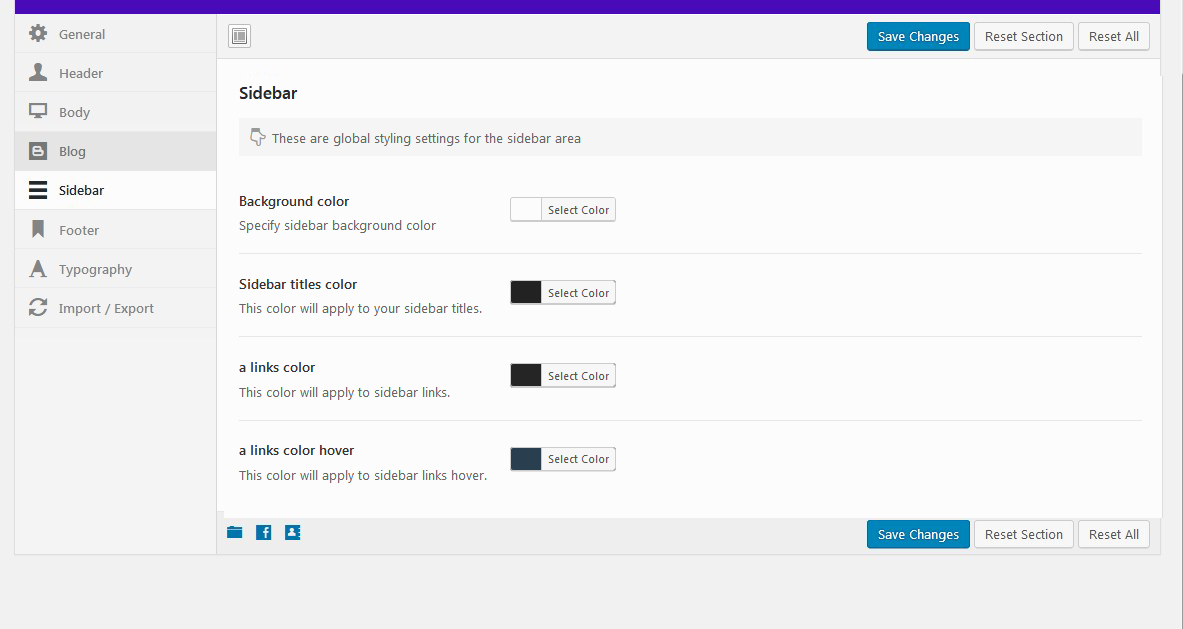
Sidebar section: add color of links, background
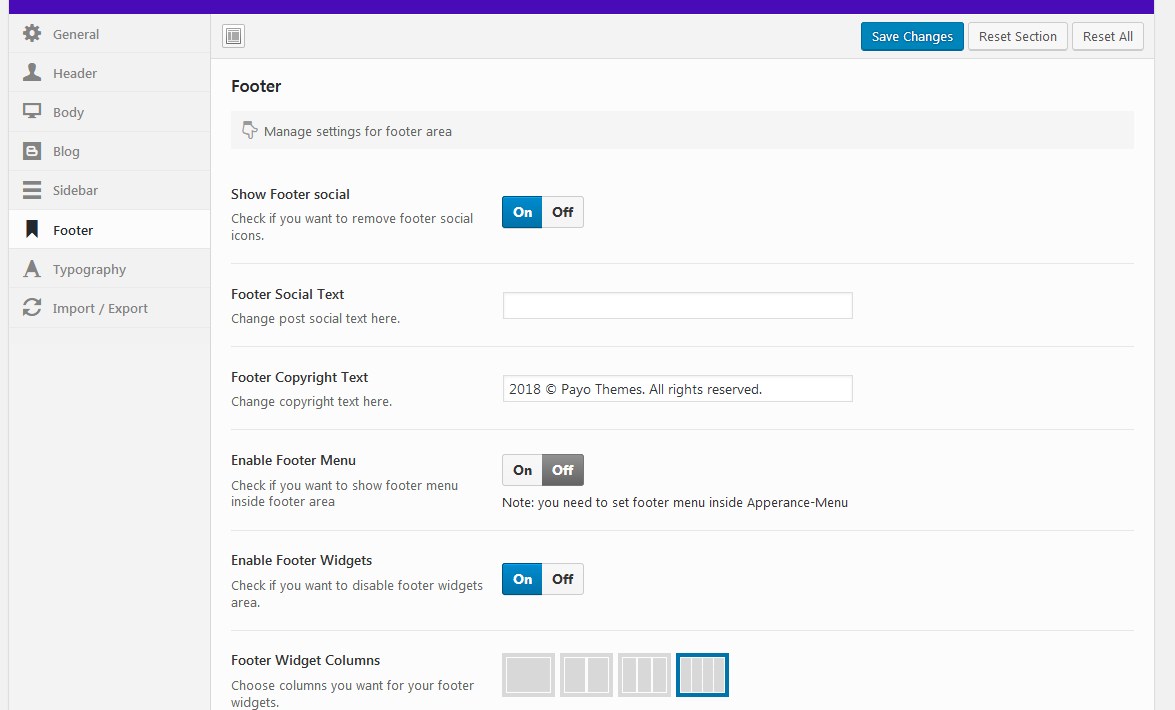
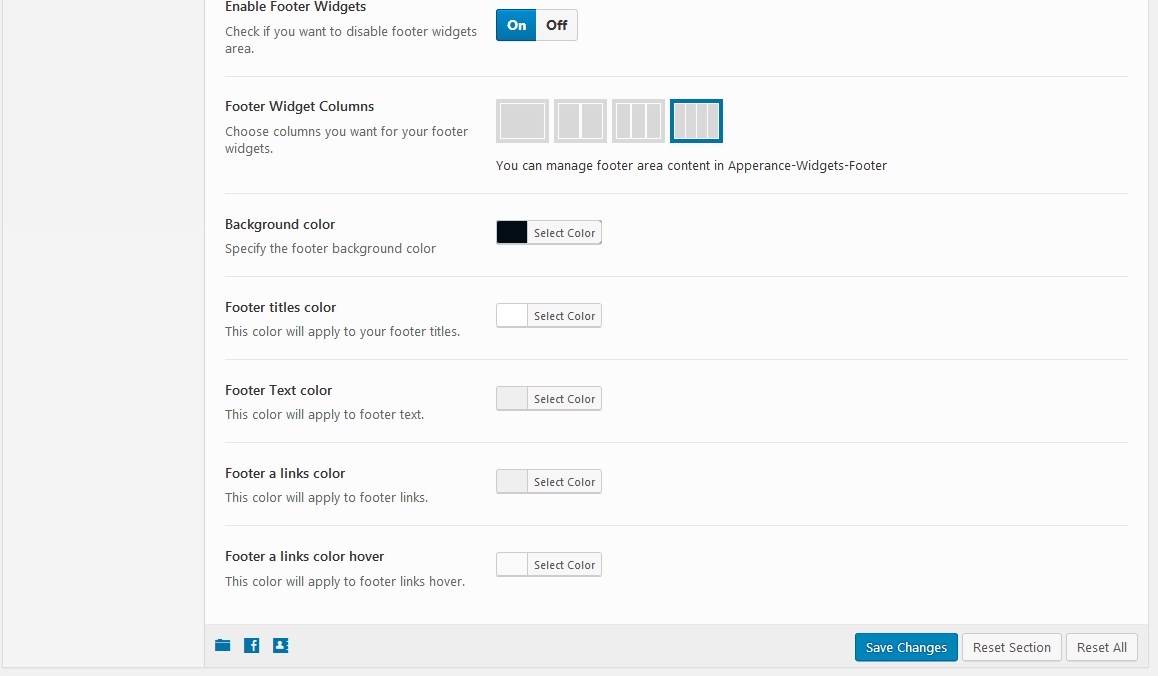
Footer section: show hide socials, and add socials. Show hide menu. When menu is on, socials will be off or menu off and socials on, Enable Footer Widgets, Footer Widget Columns, 1-4, background color, title color, text color
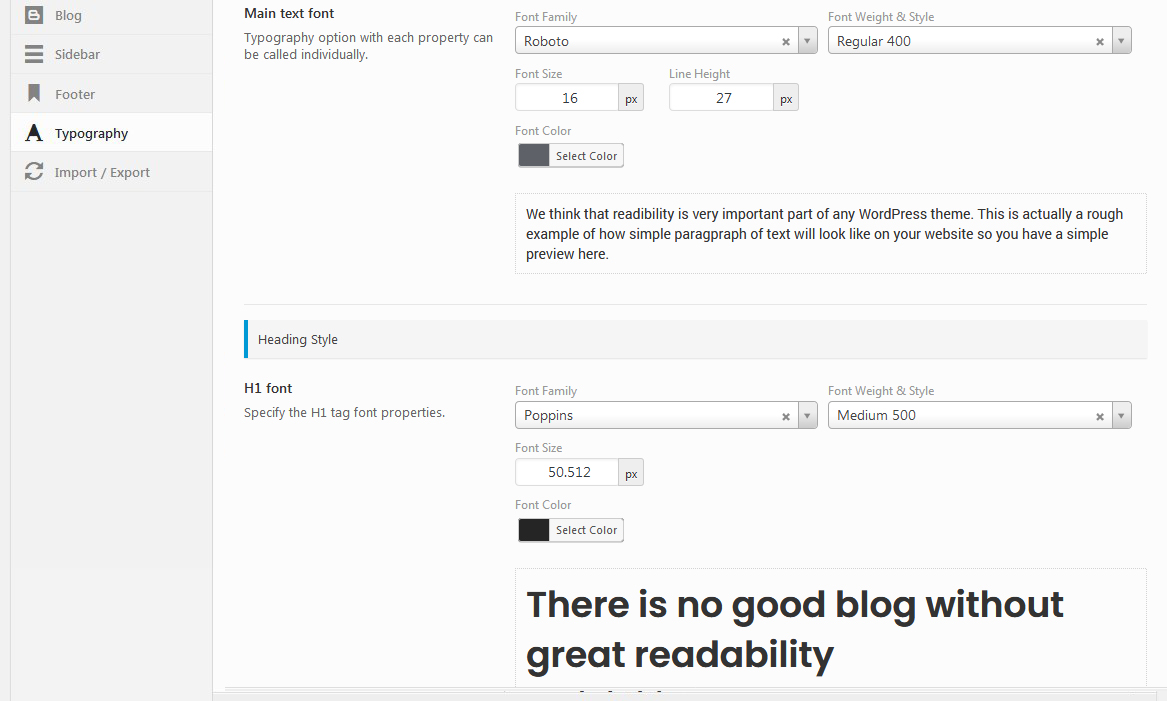
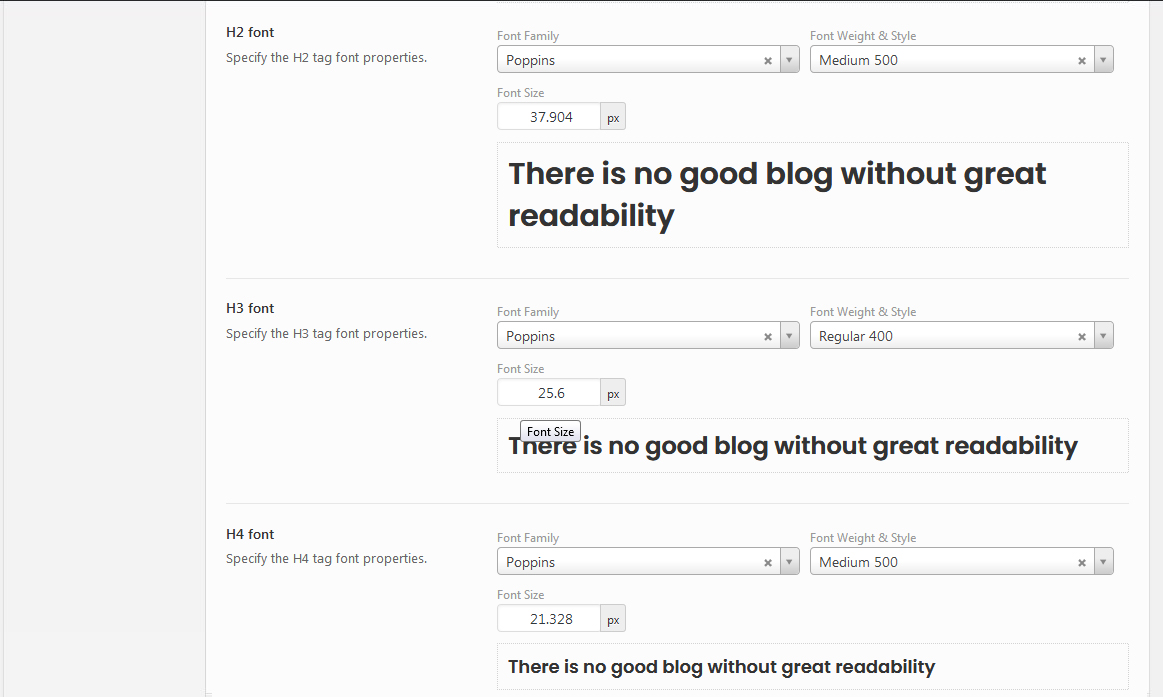
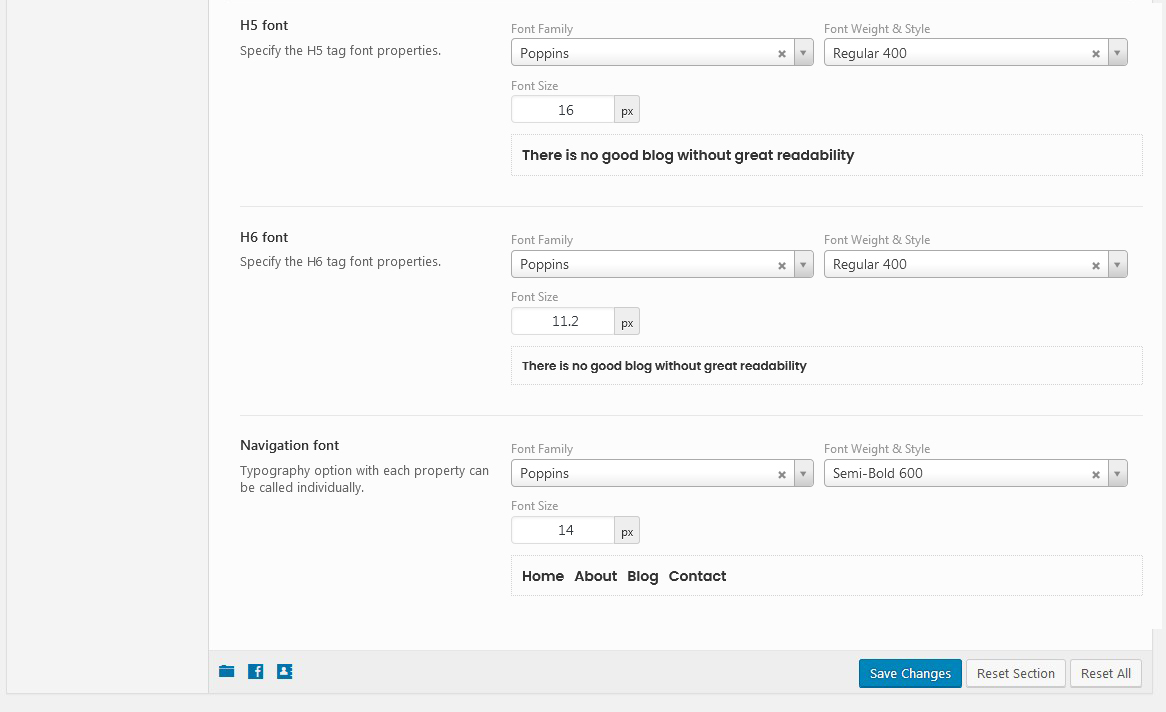
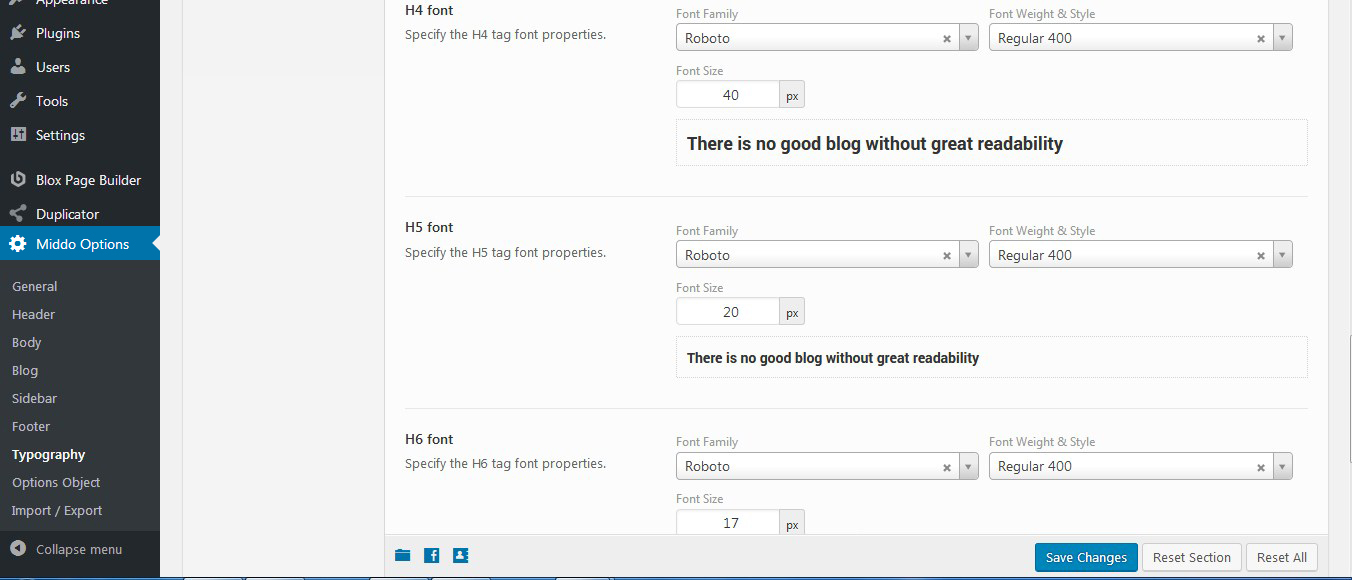
Typography : choose font , size for text
Advanced Options : add css or custom js code

Import Options : In this section you can import our default theme's settings as in our demo, and you can find them in folder Import
Exporting Options: before makeing any changes in theme options, you can make export settings,and import later.

We are using free version of Blox Page Builder so you can't use all premium addons . To use all addons, you need to purchase Personal licence for 39USD from Blox official website.
You are free to use our addons on your website, also, if you need 1-2 addons you can ask us to send you for Import, but for more addons you need to buy your licence and to activate Blox. Ask us before, maybe we can get small discount.
Editing Slider Responsive Crelly Slider !.
To edit size of text and button from Crelly Slider, please open in theme, css file style.css and at the end of this file you will find on line aprox 6189, after line offcanvas End. You can edit here.
Import Slider
From Crelly Slider, Choose to Import our slide, Slide you can find it in pack downloaded from themeforest (choose to download all files, unzip it) and in folder Import - Slide .
Update
How to make update?
Make back-up: Using FTP, go to wp-content/themes/middo, From Themeforest, download latest version of our theme and replace all files from middo, theme downloaded.
You can make all changes in child theme and set as default theme. Update ONLY theme middo, not also Child theme.
Dont forget, first make backup.
Documentation Page builder
Short review Review Blox Page Builder
Builder Documentation Documentation Blox Page Builder
What is inside
In middo pack you will find:
theme, import files, documentation
Features
- Blox Page Builder (Frontview edit builder)
- Premium Quality Theme
- bbPress ready
- Fully Responsive Layout-Desktop, Tablet, Phone etc.
- Portfolio Filter
- Parallax Background
- Based on _s
- Based on bootstrap 3
- Based on bones
- 3 navigation menus (header-footer-offcanvas responsive).
- Menu transparent and menu color background.
- A powerful theme option panel based on Redux framework with theme of options.
- Pages slidebar
- Custom headers
- Custom search result
- 100% SEO Optimized
- Page speed optimized.
- HTML5 validation ready link
- CSS3
- HTML Markup schema-ready Validated by structured testing tool
- Optimized breadcrumbs for SEO
- Pagination
- 404 Template
- Clean commented code
- Google Fonts
- Translation ready
FAQ
Click on some Addons and i can't install, i see This addon is available when blox is activated. and PRO icon
Because is free version of Blox Page builder, you can use only our addons or all addons that we used in our theme. To use catalog import or addon pro import, you need to purchase one of 3 versions of PRO Blox Page Builder and activate your key.
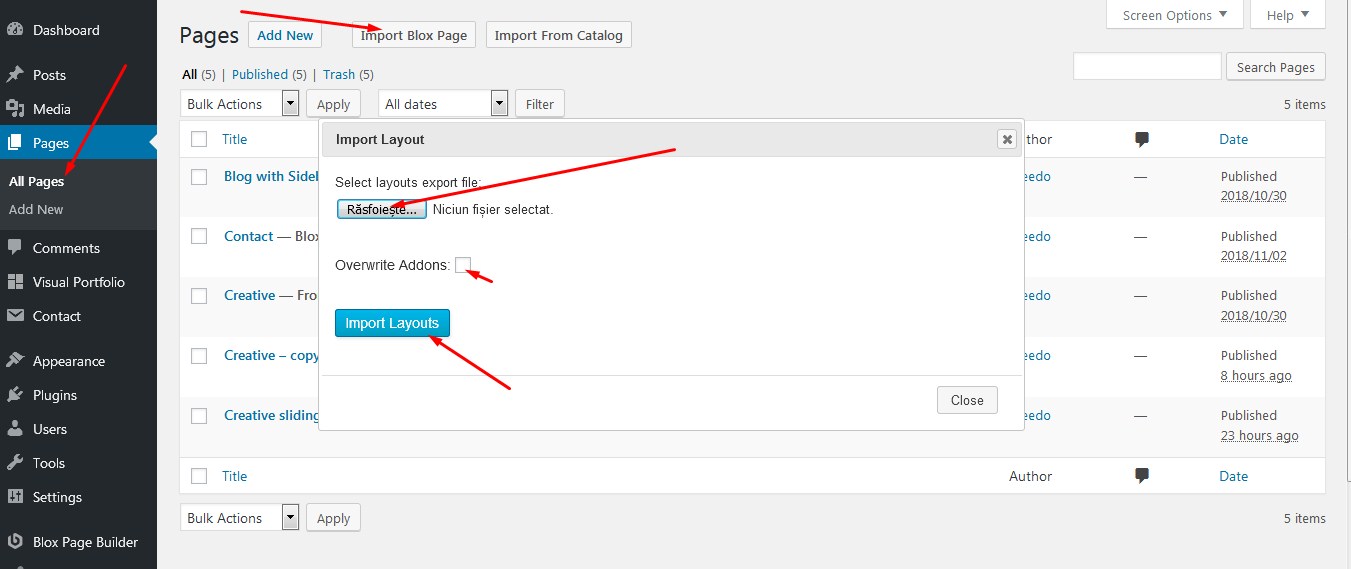
I imported your file xml , all are imported but in front i don't see images or partial images
In this case, you forgot to read step 4 from installation: Before import, go to Settings-Media and uncheck Organize my uploads into month- and year-based folders. We don't have many images so if you want to add order by year back you need to re-upload images from admin wordpress and to add each image into your page.
Where i can find Import files?
Please download from your account- Download section - All files & documentation - Unzip and you can find inside:template:middo.zip, middo-child.zip , import folder, documentation folder and default licence.
I can't import, i see limit for upload
In this case is not our fault, so you need to speak with your host to rise this limit, or you can google it how to rase upload limits in wordpress. Also check in our Import folder , import one by one and you can import each file one by one, so your server should work to process this upload.
I need support, where i can write / open ticket?
You can write us on our website: https://payo-themes.com/support/ Normally we will answer to you in max 2hours, Also check hour time https://www.timeanddate.com/worldclock/romania/bucharest (if we will recieve in the night, we will answer to you in the morning, dn't worry.) Support working: M-F:09-17 but sometimes if we are near PC, we can help you, no problem.
Do you make addons for Blox?
Yes, we can make addons for Blox Page Builder but is not part of free support
Do i need to rate theme?
This will be awesome and great help for us, if you want to give us 5stars, For you is nothing, won't cost you money, and maybe is not important, but for us, authors this is so good, Why? Because with stars, we can earn more sales, we can promote our theme on Evato, and this is important for you, why? Because if a theme have many sales, that theme will be improuved and updated very often.
How can i rate your theme?
Go to your Themeforest account - Download - and here you can see our theme and before Download button you can see stars, choose 5stars, and you can let us nice comment if you like our theme and save.
Advices ?
If you think we've missed something in our documentation, please tell us, using our contact site in page contact, We are happy to hear from you, to hear your advices regarding,, all.
How can i add css in box addon css?
you need to add css like this color:#eee; not .mycolor {color:#eee;}
How can i add layout with rows?
Add new section - row settings - columns layout - click on your model.
How can i add css full classes for page in case?
Click on Icon settings from right top of your page (in edit mode- from pages, open page and choose to edit using Blox page builder); here you can add css like .myclass {color:#fff !important;}
Plugins
Blox Page Builder free version with custom addons
Visual Portfolio
Redux Framework
Crelly Slider
Recent Posts Widget With Thumbnails
Designed by Creative_hat / Freepik
Designed by Pressfoto / Freepik
Designed by katemangostar / Freepik
Designed by Graphictwister / Freepik
Designed by Teksomolika / Freepik
Designed by rawpixel.com / Freepik
Designed by rawpixel.com / Freepik
Designed by Aleksandr_Samochernyi / Freepik